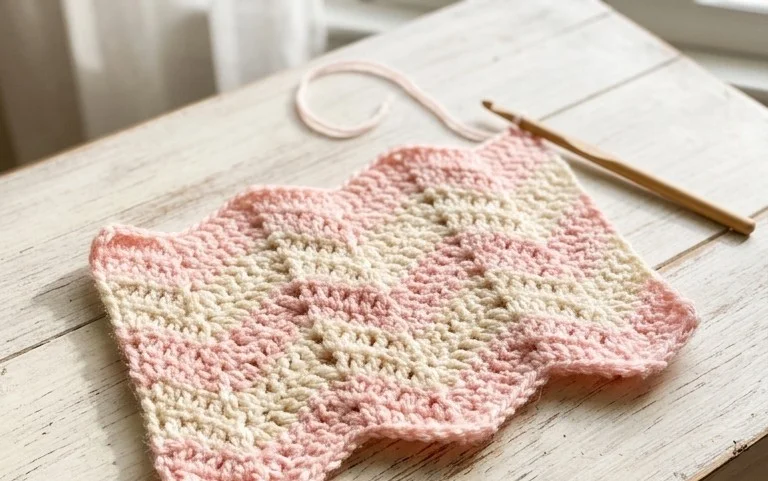
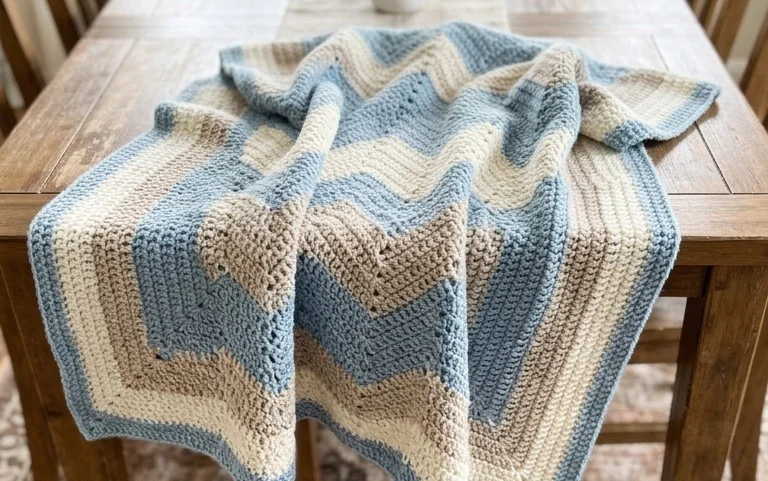
9 Cute Baby Lovey Blanket Crochet Patterns Free & Easy
Soft cotton yarn creates a gentle texture that is ideal for a newborn to hold while they nap or explore the world. These small squares serve as a comforting companion in a crib or car seat, making them a go-to gift for new parents. You will find that these projects work up quickly during a single afternoon, allowing you to build a small library of designs for any last-minute baby shower invite. This guide explains how to master the basic granny square construction and edge finishing techniques that keep these little items holding their shape through many wash cycles.
Why You’ll Love This Pattern
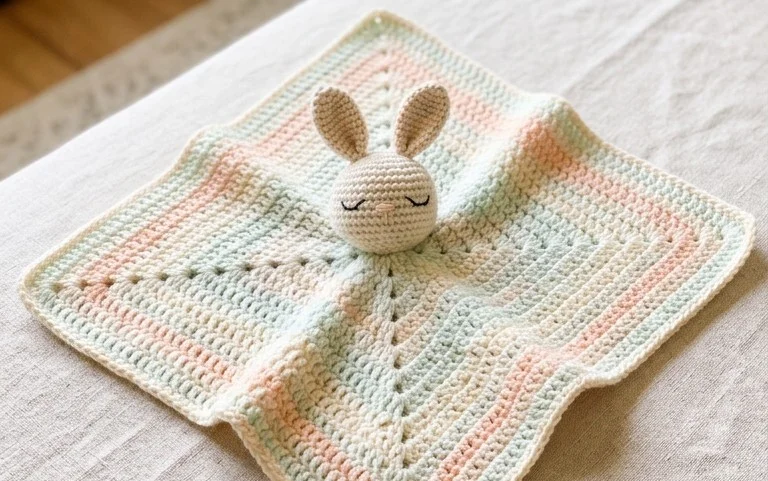
The Classic Crochet Granny Square is the foundation of countless heritage-style blankets and bags. This project relies on a repetitive, meditative stitch pattern that creates a balanced, geometric motif. You will work in joined rounds, which prevents the spiraling effect often found in amigurumi, resulting in a square that lays perfectly flat. The design is highly portable, allowing you to finish one square in under twenty minutes, making it an excellent way to use up leftover yarn scraps from larger projects.
I finally learned to keep my corners sharp and my tension even after years of struggling with lopsided squares. This pattern explains the join-as-you-go method so clearly that I finished my first blanket in a weekend.
— Sarah, hobbyist crafter
Pattern Overview & Skill Level
- Skill Level: Beginner
- Approximate Time: 15-20 minutes per square
- Construction: Worked in rounds from the center outward, joined with slip stitches at the end of every round
- Finished Dimensions: Approximately 5 inches by 5 inches using medium weight yarn and a 5.0 mm hook
Materials & Supplies Needed
- Yarn: Worsted weight (#4), acrylic or cotton blend, approximately 15 yards per square
- Hook Size: 5.0 mm (H-8)
- Notions: Tapestry needle for weaving in ends, scissors, and optional stitch markers to identify corners
- Yarn Substitutions: You may use DK weight yarn for a smaller, more delicate square, though you will need to increase the number of rounds to achieve the same finished size. Using a chunky weight yarn will result in a significantly larger, thicker square and will require a larger 6.0 mm or 6.5 mm hook.
Stitch Guide & Abbreviations (US Terms)
- ch: chain
- st/sts: stitch/stitches
- sl st: slip stitch
- dc: double crochet
- dc-cluster: 3 double crochet stitches worked into the same space
- sp: space
Step-by-Step Pattern Instructions
Each round begins with a chain 3, which counts as the first double crochet of the round. You will join the end of every round to the top of the initial chain 3 with a slip stitch.
Rnd 1: Start with a magic ring. Ch 3, work 2 dc into the ring. Ch 2, *3 dc into the ring, ch 2; repeat from * two more times. Join with a sl st to the top of the initial ch 3. (12 sts + 4 ch-2 corner spaces)
Rnd 2: Sl st into the next dc and into the first ch-2 space. Ch 3, 2 dc, ch 2, 3 dc in the same corner space. *Ch 1, skip 3 sts, (3 dc, ch 2, 3 dc) in the next corner space; repeat from * two more times. Ch 1, sl st to the top of the initial ch 3. (24 sts + 4 ch-2 spaces + 4 ch-1 spaces)
Rnd 3: Sl st into the next 2 sts and into the corner space. Ch 3, 2 dc, ch 2, 3 dc in the corner space. *Ch 1, 3 dc in the next ch-1 space, ch 1, (3 dc, ch 2, 3 dc) in the next corner space; repeat from * two more times. Ch 1, 3 dc in the final ch-1 space, ch 1, sl st to the top of the initial ch 3. (36 sts + 4 ch-2 spaces + 8 ch-1 spaces)
Rnd 4: Continue this established pattern by working 3 dc, ch 2, 3 dc into every corner space and 3 dc into every ch-1 space along the sides, separated by a ch 1. Repeat until the square reaches your desired size. (48 sts)
Finishing
Once you reach the final round, fasten off your yarn, leaving a 6-inch tail. Pull the tail through the final loop to secure it. Use your tapestry needle to weave the end horizontally through the stitches on the back side of the square to hide it completely.
Care & Washing Instructions
- Machine wash your finished item on a gentle cycle in cool water with mild detergent.
- Lay the piece flat on a clean towel to air dry, reshaping it into a perfect square while damp.
- Do not iron or bleach; if the fabric appears slightly puckered, lightly steam block by holding your iron a few inches above the surface.
Pro Tips & Common Mistakes to Avoid
- Consistent Tension: Keep your yarn tension relaxed, especially on the chains at the corners, to prevent the square from cupping inward.
- Stitch Counting: Use a stitch marker in the top of the starting chain 3 so you can easily identify where to join your round at the end.
- Invisible Ends: When joining a new color, tie it directly into the corner space rather than the previous stitch to maintain a cleaner line.
- Size Adjustment: To make the square larger, simply add more rounds following the pattern of 3 dc in each side space and the corner cluster of 3 dc, ch 2, 3 dc. Adding rounds will increase your yarn requirement by approximately 5 yards per round.
Frequently Asked Questions
Can I use this pattern for a full blanket?
Yes, you can join multiple finished squares together using a whip stitch or a single crochet join to create a full-sized throw.
Is this pattern suitable for complete beginners?
This is a classic beginner project because it only uses chain and double crochet stitches, which are the most fundamental skills to master.
Can I sell the items I make from this pattern?
Standard practice allows for the sale of handmade items created from this pattern, provided you credit the designer and use your own photographs.
What happens if my square looks wavy?
Wavy edges usually indicate that you are adding too many stitches in the side spaces; ensure you are only placing 3 double crochets in each ch-1 space.
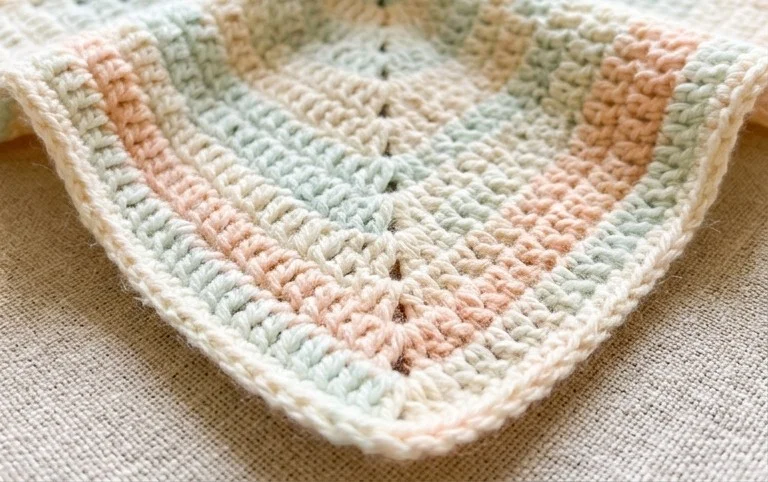
Completing these small security blankets leaves you with a thoughtful, handmade gift that stands up to daily use by a toddler. You can swap the standard acrylic yarn for a organic bamboo blend to add extra softness or add a small crocheted animal head to the center for a tactile twist. Sharing photos of your finished work helps others visualize their own color palettes. Feel free to browse our main archives for more free patterns to expand your skills with different textures and stitch combinations.