Classic Crochet Granny Square: Free Beginner Pattern
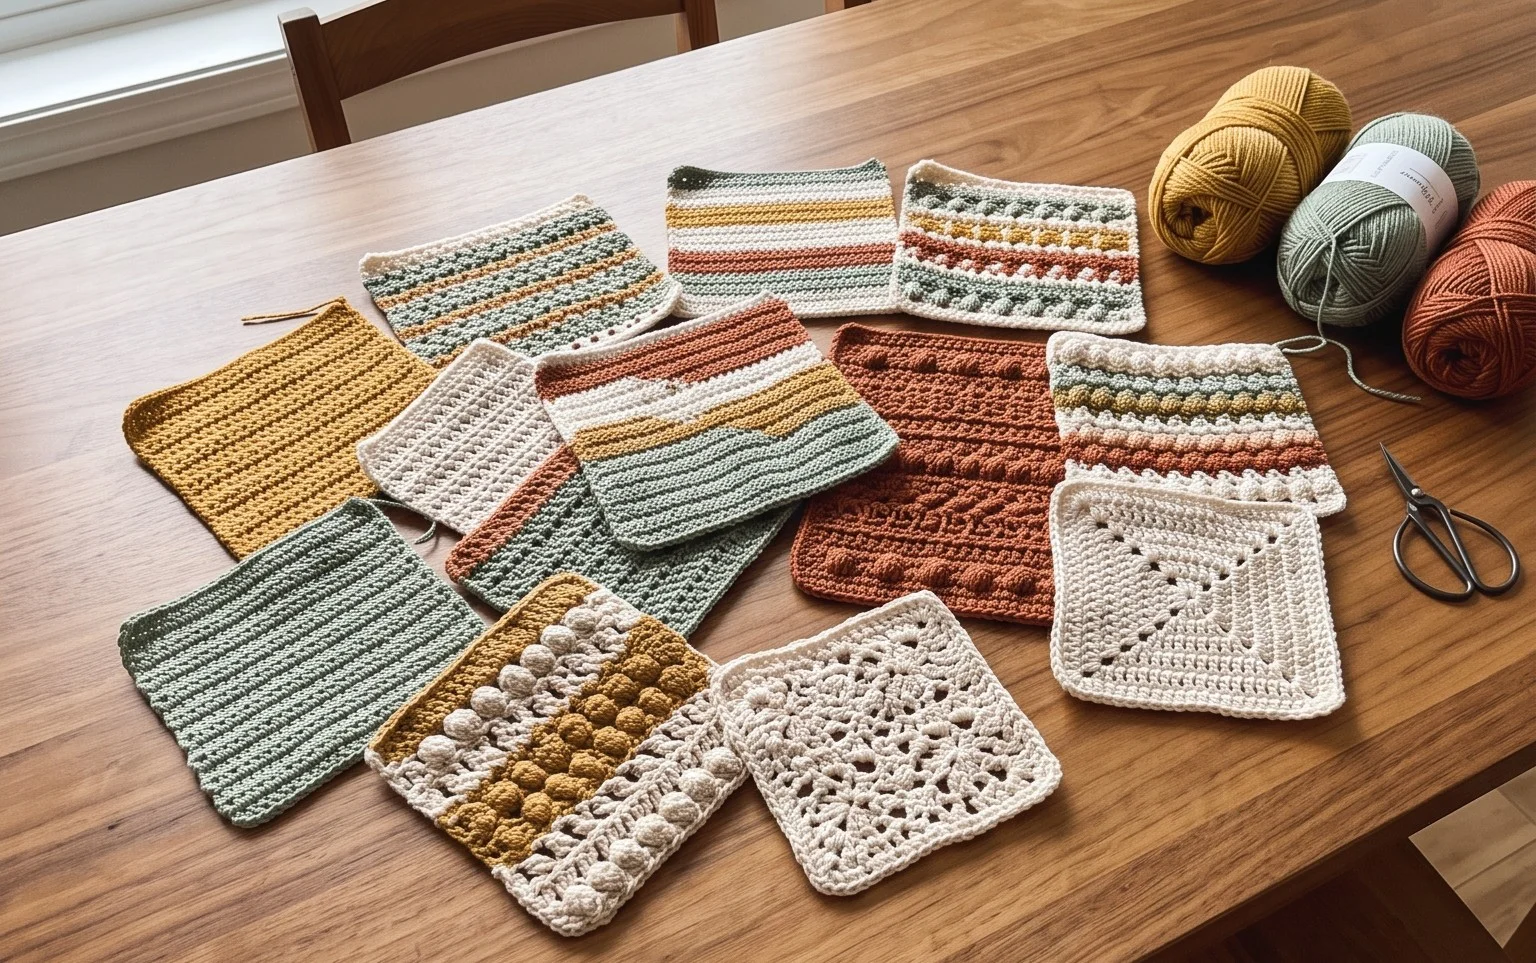
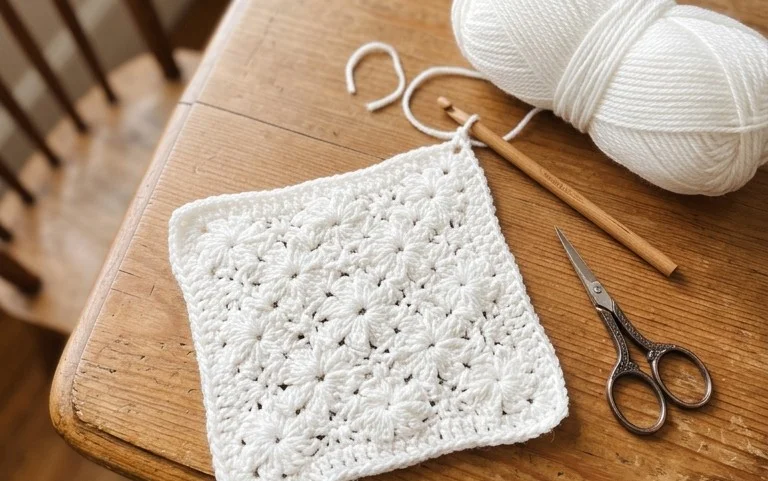
A stack of finished granny squares feels substantial and soft, with a tight structure that holds its shape beautifully over time. This project works well for anyone building their confidence with a hook, as the repetition allows your hands to find a natural rhythm quickly. You will find that these squares look polished as coasters, blankets, or even joined into a casual tote bag. Mastering the clean join between rounds transforms how you approach color transitions, preventing that messy jog often found in circular work. This approach keeps your project looking tidy from the very first stitch until the final weaving.
Why You’ll Love This Pattern
The Classic Crochet Granny Square is the fundamental building block of crochet design. This specific pattern uses a traditional three-double-crochet cluster technique that balances structure with drape. It works up quickly, making it a perfect project for burning through leftover yarn scraps from larger blanket projects. Because it is worked in the round, you never have to turn your work, which keeps the stitch definition clean and even for every color change.
This pattern helped me finally understand how to keep my corners square without the edges curling or rippling. The stitch counts are spot on and the instructions for joining rounds are very clear.
— Sarah, beginner crocheter
Pattern Overview & Skill Level
- Skill Level: Beginner
- Approximate Time: 30-45 minutes per square
- Construction: Working in joined rounds, starting from the center and expanding outward
- Finished Dimensions: Approximately 6 inches by 6 inches when using worsted weight yarn
Materials & Supplies Needed
- Yarn: Worsted weight (#4) acrylic or wool blend, approximately 20 yards per square.
- Hook Size: 5.0 mm (US H-8).
- Notions: Yarn needle for weaving ends, scissors.
- Yarn Substitutions: You can use DK weight yarn with a 4.0 mm hook for a smaller, tighter square, or bulky weight yarn with a 6.0 mm hook for a larger, quicker square. Note that gauge will change the finished size significantly.
Stitch Guide & Abbreviations (US Terms)
- ch = chain
- sl st = slip stitch
- dc = double crochet
- st/sts = stitch/stitches
- sp = space
- Cluster = group of 3 dc worked into the same space
Step-by-Step Pattern Instructions
Granny Square Body
- Rnd 1: Ch 4, join with sl st to first ch to form a ring. Ch 3 (counts as first dc), 2 dc into ring, ch 2, (3 dc into ring, ch 2) 3 times. Join with sl st to top of starting ch-3. (12 dc, 4 ch-sp)
- Rnd 2: Sl st into next 2 sts and into the first ch-2 space. Ch 3, 2 dc into same sp, ch 2, 3 dc into same sp (corner made). Ch 1, skip 3 sts, (3 dc, ch 2, 3 dc) into next ch-2 space. Repeat from * to * two more times. Ch 1, join with sl st to top of starting ch-3. (24 dc, 4 ch-sp, 4 ch-1 sp)
- Rnd 3: Sl st into next 2 sts and into the first ch-2 corner space. Ch 3, 2 dc into same sp, ch 2, 3 dc into same sp. Ch 1, 3 dc in next ch-1 space, ch 1, (3 dc, ch 2, 3 dc) in next corner space. Repeat from * to * two more times. Ch 1, 3 dc in last ch-1 space, ch 1, join with sl st to top of starting ch-3. (36 dc, 4 ch-sp, 8 ch-1 sp)
- Rnd 4: Continue in established pattern, working (3 dc, ch 2, 3 dc) in each corner and 3 dc in each side ch-1 space, separated by ch 1. (48 dc, 4 ch-sp, 12 ch-1 sp)
Finishing
Fasten off yarn, leaving a 6-inch tail. Use your tapestry needle to weave the tail through the back of the stitches to secure it firmly. To shape the square, lightly steam block the piece by pinning it to a flat surface and hovering a steamer or iron set on low heat over the fabric without touching the yarn directly.
Care & Washing Instructions
- Machine wash on a delicate cycle in cool water (30 degrees Celsius) using mild detergent.
- Lay the square flat on a clean towel to air dry completely away from direct sunlight.
- Avoid wringing or twisting the fabric to prevent stretching the stitches out of shape.
Pro Tips & Common Mistakes to Avoid
- Maintain consistent tension by holding your yarn with the same grip throughout the square. If your hands cramp, loosen your grip slightly rather than pulling the yarn tighter.
- Place a locking stitch marker in the top of your starting ch-3 at the beginning of each round to easily identify where to join your slip stitch at the end.
- Weave your yarn ends in opposite directions to prevent them from slipping out over time during regular wash cycles.
- Adjust the size of the square by adding or subtracting rounds. Keep in mind that every extra round adds 12 stitches to your total count and increases your yarn usage by approximately 15 percent.
Frequently Asked Questions
Can I use a different weight of yarn for this pattern?
Yes, you can use any weight of yarn, but you must adjust your hook size to match the recommended size on the yarn label. Thicker yarn creates a larger, chunkier square, while thinner yarn results in a more delicate, small square.
How do I join these squares together to make a blanket?
You can join them using a mattress stitch with a tapestry needle, or use a slip stitch join through the back loops of the outer edges of two squares held together.
Is this pattern suitable for someone who has never crocheted before?
Yes, this is an ideal beginner project because it only uses double crochet stitches and chains. The repetition of the pattern makes it easy to memorize after completing the first two rounds.
Can I sell the finished squares I make from this pattern?
Yes, you are free to sell items made from this pattern. I only ask that you credit the original design and use your own photographs to represent your work.
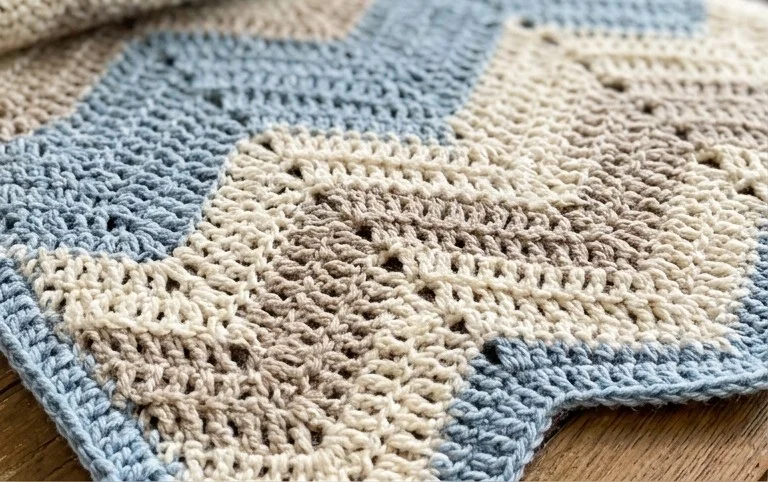
Seeing your stack of finished squares grow creates a real sense of accomplishment after just a few hours of work. Try alternating between two contrasting colors for every single round to give your project a modern, graphic look that pops on the couch. Sharing your progress helps others see how different color combinations change the mood of the design, so consider posting a photo of your work online. You can find more free patterns and techniques for your next project by browsing the rest of the craft collection on my blog.