Easy Granny Square Blanket: Step-by-Step Free Pattern
A warm wool blanket resting on the back of a sofa adds weight and comfort to any living room, especially when you know every stitch came from your own hands. This classic granny square project offers a soft, textured finish that holds up through years of daily use. Beginners will find the process approachable because it focuses on a single recurring stitch pattern that builds confidence quickly. You will learn to manage tension in your yarn and master the transition between colors, building skills that prepare you for larger, more complex heirloom pieces later on.
Why You’ll Love This Pattern
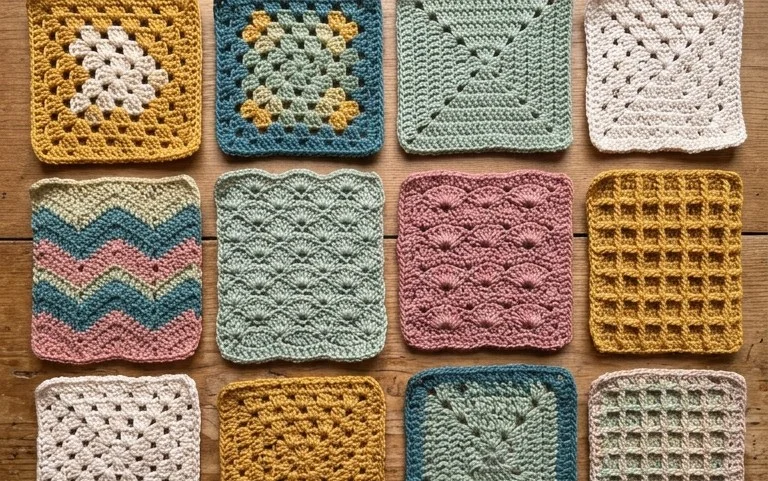
The Classic Crochet Granny Square is the foundation of countless heritage-style blankets, bags, and garments. This project is ideal for using up leftover yarn scraps from previous makes, as each round can be worked in a different color. Because the construction relies on simple clusters of double crochet stitches worked into chain spaces, the repeat is easy to memorize after just one or two rounds. This makes it a perfect low-stress activity for evenings on the couch or while traveling. The modular nature of the square means you can start with a single motif and expand your project at your own pace without the pressure of managing hundreds of stitches on a long circular needle.
I learned to crochet by making these squares. The instructions are so clear that I finally understood how to work into the gaps instead of struggling to find the tops of stitches. It is my go-to project when I need something reliable.
— Sarah, beginner crocheter
Pattern Overview & Skill Level
- Skill Level: Beginner
- Approximate Time: 30 to 45 minutes per square
- Construction: Worked in joined rounds, starting from the center and expanding outward
- Finished Dimensions: Approximately 6 inches by 6 inches when using worsted weight yarn and a 5.0 mm hook
Materials & Supplies Needed
- Yarn: Worsted weight (#4), 100% wool or acrylic blend, approximately 20 yards per square.
- Hook Size: 5.0 mm (US H-8).
- Notions: Yarn needle with a large eye for weaving in ends, sharp scissors.
- Yarn substitutions: Cotton yarn will result in a stiffer, more structured square, while acrylic or wool will provide a softer, more flexible drape. Changing the fiber type may slightly alter the final size; always check your gauge if joining squares for a larger project.
Stitch Guide & Abbreviations (US Terms)
- ch = chain
- st = stitch
- sl st = slip stitch
- dc = double crochet
- dc-cluster = 3 dc stitches worked into the same space
- sp = space (the gaps created by chain stitches in the previous round)
- MR = magic ring
Step-by-Step Pattern Instructions
Begin by creating a magic ring or by chaining 4 and joining with a sl st to form a small circle.
Rnd 1: Ch 3 (counts as first dc), work 2 dc into the center of the ring, ch 2, *3 dc into the center, ch 2; repeat from * twice more. Join with a sl st to the top of the beginning ch 3. (12 dc, 4 ch-2 sps).
Rnd 2: Sl st into the first ch-2 corner sp. Ch 3, 2 dc in same sp, ch 2, 3 dc in same sp. *Ch 1, skip next 3 sts, (3 dc, ch 2, 3 dc) in next ch-2 corner sp. Repeat from * twice more. Ch 1, join with a sl st to the top of the beginning ch 3. (24 dc, 4 ch-1 sps, 4 ch-2 corner sps).
Rnd 3: Sl st into the first corner sp. Ch 3, 2 dc in same sp, ch 2, 3 dc in same sp. *Ch 1, 3 dc in the next ch-1 side sp, ch 1, (3 dc, ch 2, 3 dc) in the next corner sp. Repeat from * twice more. Ch 1, 3 dc in the final side sp, ch 1, join with a sl st to the top of the beginning ch 3. (36 dc, 8 ch-1 sps, 4 ch-2 corner sps).
Rnd 4: Sl st into the first corner sp. Ch 3, 2 dc in same sp, ch 2, 3 dc in same sp. *Ch 1, (3 dc in next ch-1 sp, ch 1) across to the next corner sp, (3 dc, ch 2, 3 dc) in corner sp. Repeat from * twice more. Ch 1, work 3 dc in each side sp with ch 1 between them, join with a sl st to top of beginning ch 3. Fasten off and weave in all ends. (48 dc, 12 ch-1 sps, 4 ch-2 corner sps).
Care & Washing Instructions
- Hand wash in cool water using a mild wool-safe detergent to preserve the structure of the stitches.
- Gently squeeze out excess water with a towel; do not wring or twist the fabric.
- Lay the square flat on a clean surface or blocking board, pinning it to the desired 6-inch dimensions until completely dry.
Pro Tips & Common Mistakes to Avoid
- Maintain consistent tension by holding the yarn taut but not tight; if your square starts to ruffle, your tension is too loose, and if it cups inward, your tension is too tight.
- Place a stitch marker in the top of your starting ch-3 at the beginning of every round to make the final join effortless.
- Weave in your yarn ends by running the needle through the back loops of the finished stitches in three different directions to ensure they do not pull out over time.
- Increase or decrease the size of your square by simply adding more or fewer rounds using the same increase pattern of (3 dc, ch 2, 3 dc) in each corner.
Frequently Asked Questions
Can I use a different yarn weight for this pattern?
Yes, you can use any weight of yarn. A lighter yarn will result in a smaller square, while a bulkier yarn will result in a larger square. Ensure you use a hook size appropriate for the yarn you select to maintain a workable fabric.
Is this pattern suitable for someone who has never crocheted before?
Absolutely. The pattern uses only double crochet and chain stitches. The repetitive nature of the rounds allows you to build muscle memory quickly as you progress.
How do I join these squares together to make a blanket?
You can join squares using a flat slip stitch seam, a mattress stitch, or by crocheting a final round that connects them to one another. The mattress stitch is often preferred for a cleaner, flatter look.
Am I allowed to sell items I make using this pattern?
You may sell finished items made from this pattern as long as you credit the designer. Please do not sell or redistribute the written pattern itself.
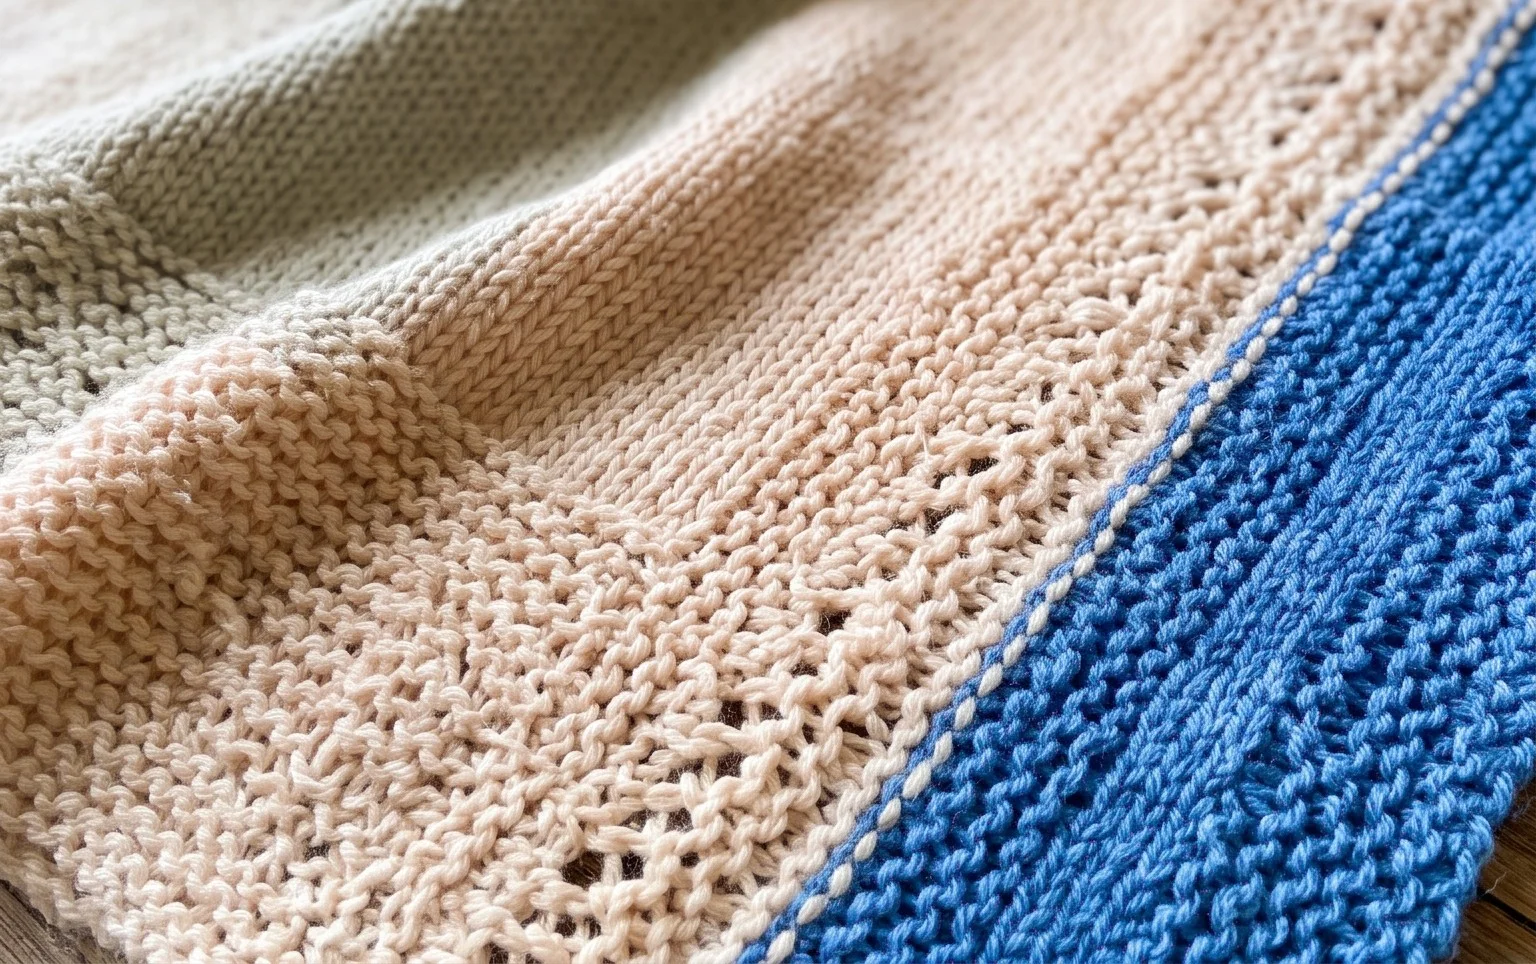
Your finished blanket square serves as a durable base for larger projects, and seeing the colors play against each other provides a real sense of accomplishment. Try switching to a cotton-blend yarn if you want a lighter texture suitable for summer, or join twenty squares together to create a full baby blanket. Sharing a photo of your work on social media helps others feel encouraged to start their own journey with fiber arts. You are always welcome to browse the full archive of free patterns on my blog to find your next project.