40+ Unique Crochet Stitches: Free Patterns & Step-by-Step
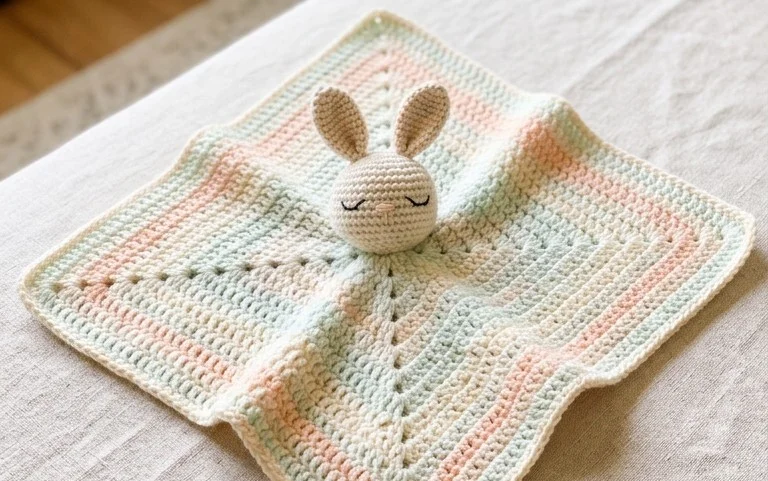
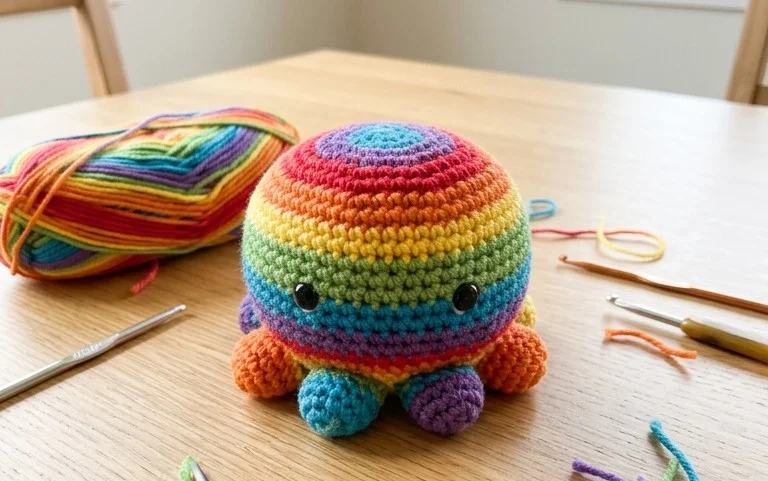
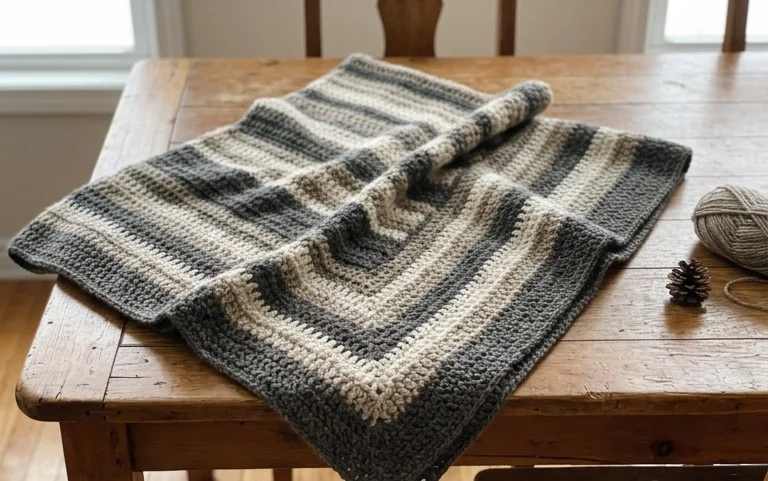
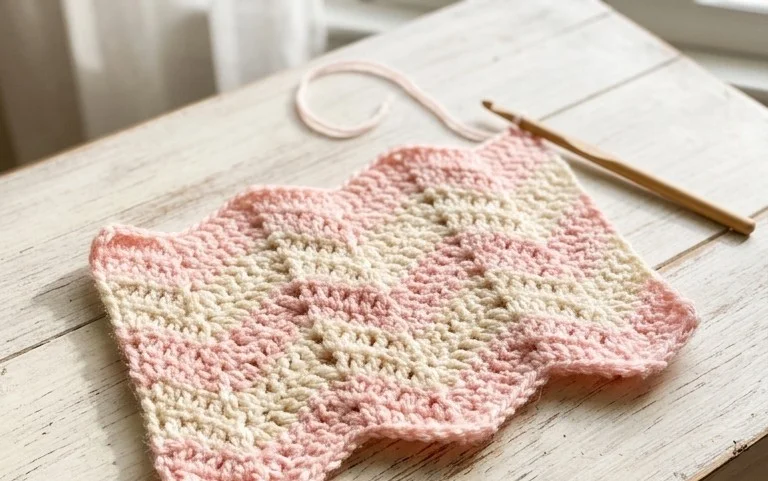
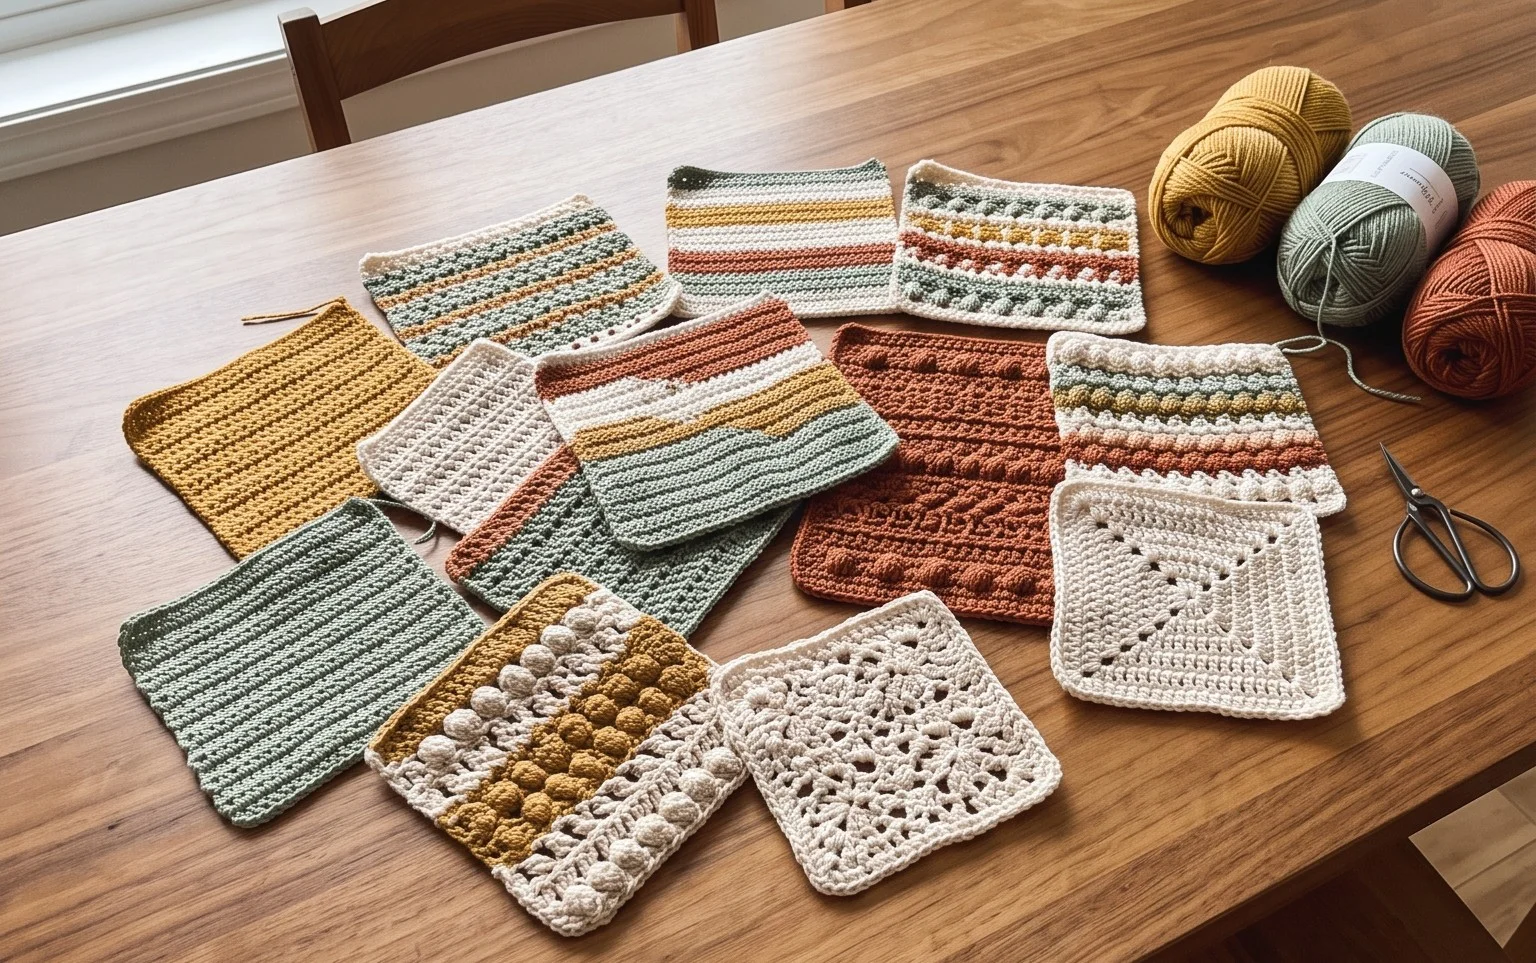
A textured bobble stitch border or a crisp row of alpine stitches changes the entire mood of a handmade blanket, making these projects feel truly personal and intentional. This collection offers forty unique crochet stitches that act as building blocks for your future designs, whether you are crafting heavy winter scarves or breathable dishcloths. Beginners often find that mastering just one new stitch pattern builds the confidence needed for larger afghans, while experienced makers will appreciate the rhythmic nature of more complex combinations. You will find detailed explanations for every texture here, ensuring your next project stays engaging from start to finish.
Why You’ll Love This Pattern
The Classic Crochet Granny Square is the foundation of countless textile projects, from cozy blankets to lightweight summer bags. Because it is worked in the round from the center outward, you can easily stop at any size to suit your specific project needs. Using a standard worsted weight yarn provides a crisp stitch definition that highlights the cluster technique, making it a meditative rhythm for busy evenings. You will find that this pattern is exceptionally scrap-yarn friendly, allowing you to use up leftover bits of wool or acrylic in a cohesive design.
I finally learned how to keep my corners square using this exact method, and now I have a whole stack of them ready for my first afghan. The instructions for joining the rounds are so clear that I never get that awkward seam bump.
— Sarah, beginner crocheter
Pattern Overview & Skill Level
- Skill Level: Beginner
- Approximate Time: 30-45 minutes per square
- Construction: Working in the round with chain-space clusters
- Finished Dimensions: Approximately 6 inches by 6 inches using standard tension
Materials & Supplies Needed
- Yarn: Worsted weight (#4) acrylic or wool blend, approximately 20 yards per square.
- Hook Size: 5.0 mm (US H-8).
- Notions: Tapestry needle for weaving in ends, sharp scissors.
- Yarn Substitutions: You may use DK weight yarn for a smaller, delicate square, but you will need to increase the number of rounds to achieve the same finished size. Using a cotton yarn will provide more structure and less stretch than acrylic.
Stitch Guide & Abbreviations (US Terms)
- ch = chain
- st/sts = stitch/stitches
- sl st = slip stitch
- dc = double crochet
- dc cluster = 3 dc stitches worked into the same space
- sp = space
- MR = magic ring
Step-by-Step Pattern Instructions
Granny Square Body
- Rnd 1: Start with a MR. Ch 3 (counts as first dc here and throughout), 2 dc in ring, ch 2, *3 dc in ring, ch 2; repeat from * twice more. Join with a sl st to the top of the beginning ch 3. (12 dc, 4 ch-2 spaces)
- Rnd 2: Sl st into the next 2 sts and into the first ch-2 corner sp. Ch 3, (2 dc, ch 2, 3 dc) in same corner sp. *Ch 1, (3 dc, ch 2, 3 dc) in next corner sp; repeat from * twice more. Ch 1, join with a sl st to the top of the beginning ch 3. (24 dc, 4 ch-2 spaces, 4 ch-1 spaces)
- Rnd 3: Sl st into the next 2 sts and into the first corner sp. Ch 3, (2 dc, ch 2, 3 dc) in same corner sp. *Ch 1, 3 dc in next ch-1 sp, ch 1, (3 dc, ch 2, 3 dc) in next corner sp; repeat from * twice more. Ch 1, 3 dc in final ch-1 sp, ch 1, join with a sl st to the top of the beginning ch 3. (36 dc, 4 ch-2 spaces, 8 ch-1 spaces)
- Rnd 4: Sl st into the next 2 sts and into the first corner sp. Ch 3, (2 dc, ch 2, 3 dc) in same corner sp. *Ch 1, (3 dc in next ch-1 sp, ch 1) across side to corner, (3 dc, ch 2, 3 dc) in next corner sp; repeat from * twice more. Ch 1, 3 dc in each ch-1 sp along final side, ch 1, join with a sl st. (48 dc, 4 ch-2 spaces, 12 ch-1 spaces)
Finishing
Fasten off your yarn, leaving a 6-inch tail. Use your tapestry needle to weave the tail through the back loops of the stitches on the reverse side of the square. Pull gently to secure, then trim the excess yarn flush against the fabric.
Care & Washing Instructions
- Hand wash your finished item in cool water with a gentle wool-safe detergent.
- Lay the piece flat on a clean towel and reshape it into a perfect square while damp.
- Avoid using a tumble dryer, as heat can distort the stitches and cause synthetic fibers to lose their loft.
Pro Tips & Common Mistakes to Avoid
Maintaining consistent tension is the most important factor in keeping your square flat. If your square begins to ripple, your tension is too loose; if it begins to bowl inward, your tension is too tight. Always place a stitch marker in the first stitch of each round to ensure you do not lose track of your starting point, especially when changing colors. Weave your ends in multiple directions to prevent them from slipping out over time during regular use. If you choose to increase the size of the square beyond four rounds, simply add one additional 3-dc cluster in every ch-1 space along the sides for each subsequent round.
Frequently Asked Questions
Can I use a larger hook to make the square grow faster?
Yes, increasing your hook size will create a larger, drapier square, but it will also result in more visible gaps between the stitches. If you want a denser fabric, stick to the 5.0 mm hook.
Is this pattern suitable for someone who has never held a hook?
This is an excellent beginner project because it only requires chains, double crochet stitches, and slip stitches. Mastering the corner spaces is the main technique to learn, which is repeated in every round.
How do I know if I have enough yarn to finish a large blanket?
Weight your first completed square on a digital kitchen scale. Multiply that weight by the number of squares you intend to make, then add 10 percent for waste and yarn ends. This gives you a reliable estimate of the total yarn required.
Am I allowed to sell blankets made from this pattern?
You are welcome to sell finished items created from this pattern. Please provide credit to the designer in your product listings, but do not reproduce or sell the text of the pattern itself.
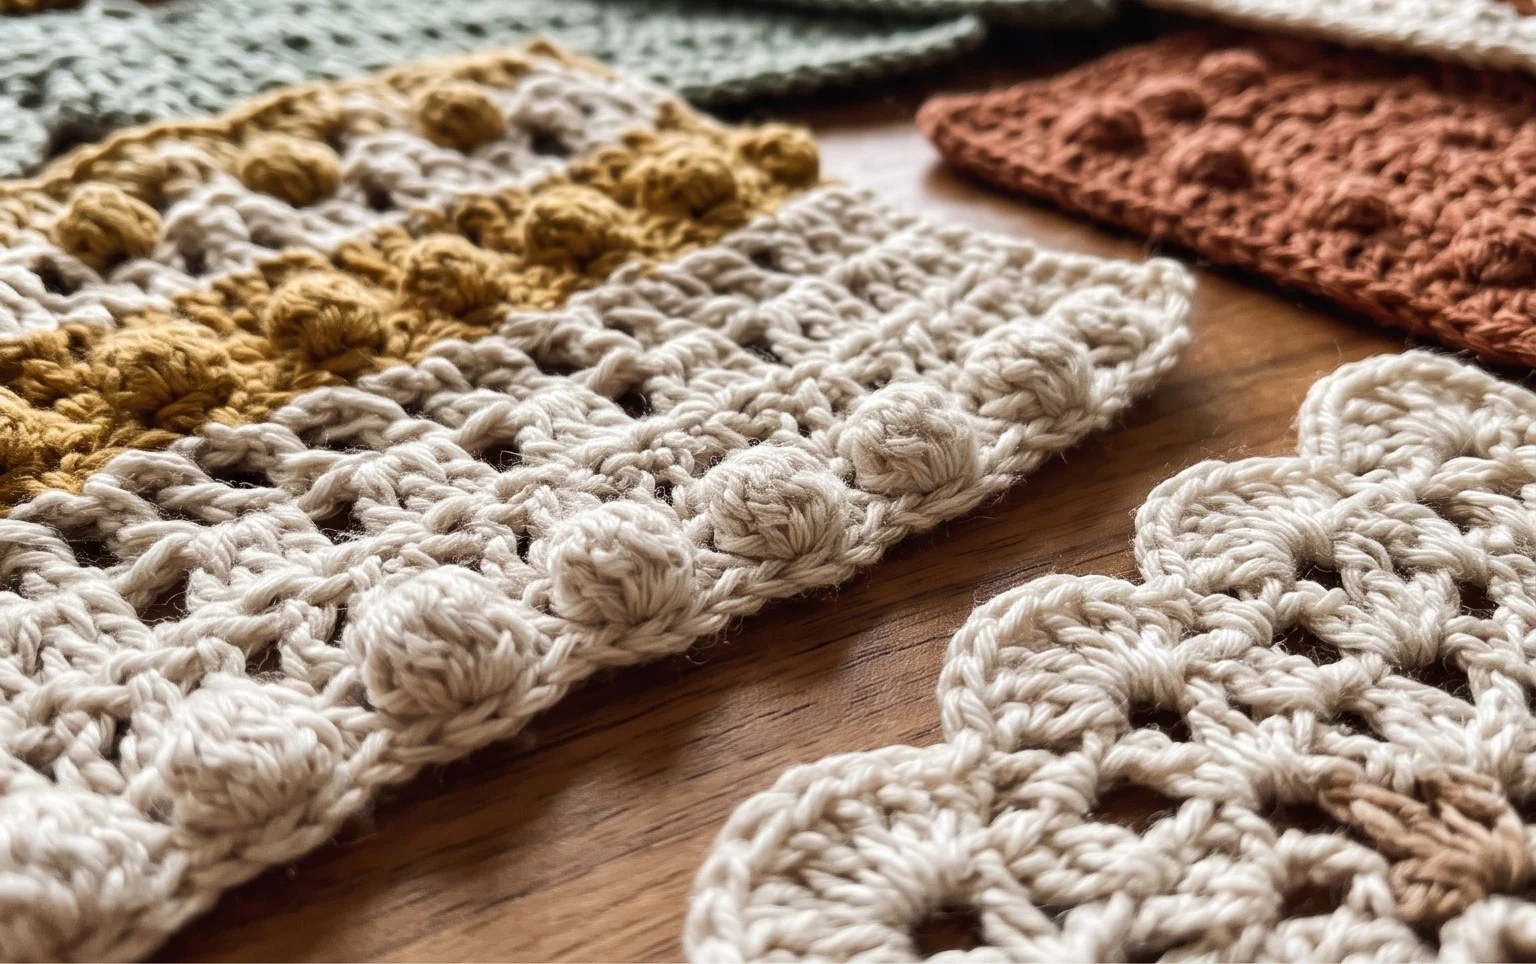
Your finished piece displays a custom texture that elevates simple yarn into a high-quality heirloom. Try swapping your standard wool for a variegated silk blend to see how the light hits these stitch patterns differently. Seeing your progress provides immense satisfaction, so please share a photo of your work on your favorite social media site to inspire other makers in the community. You can find more free patterns for blankets, hats, and accessories by browsing the full archive on our main blog page.