Crochet Scarf Size Chart: Easy Guide for Every Length
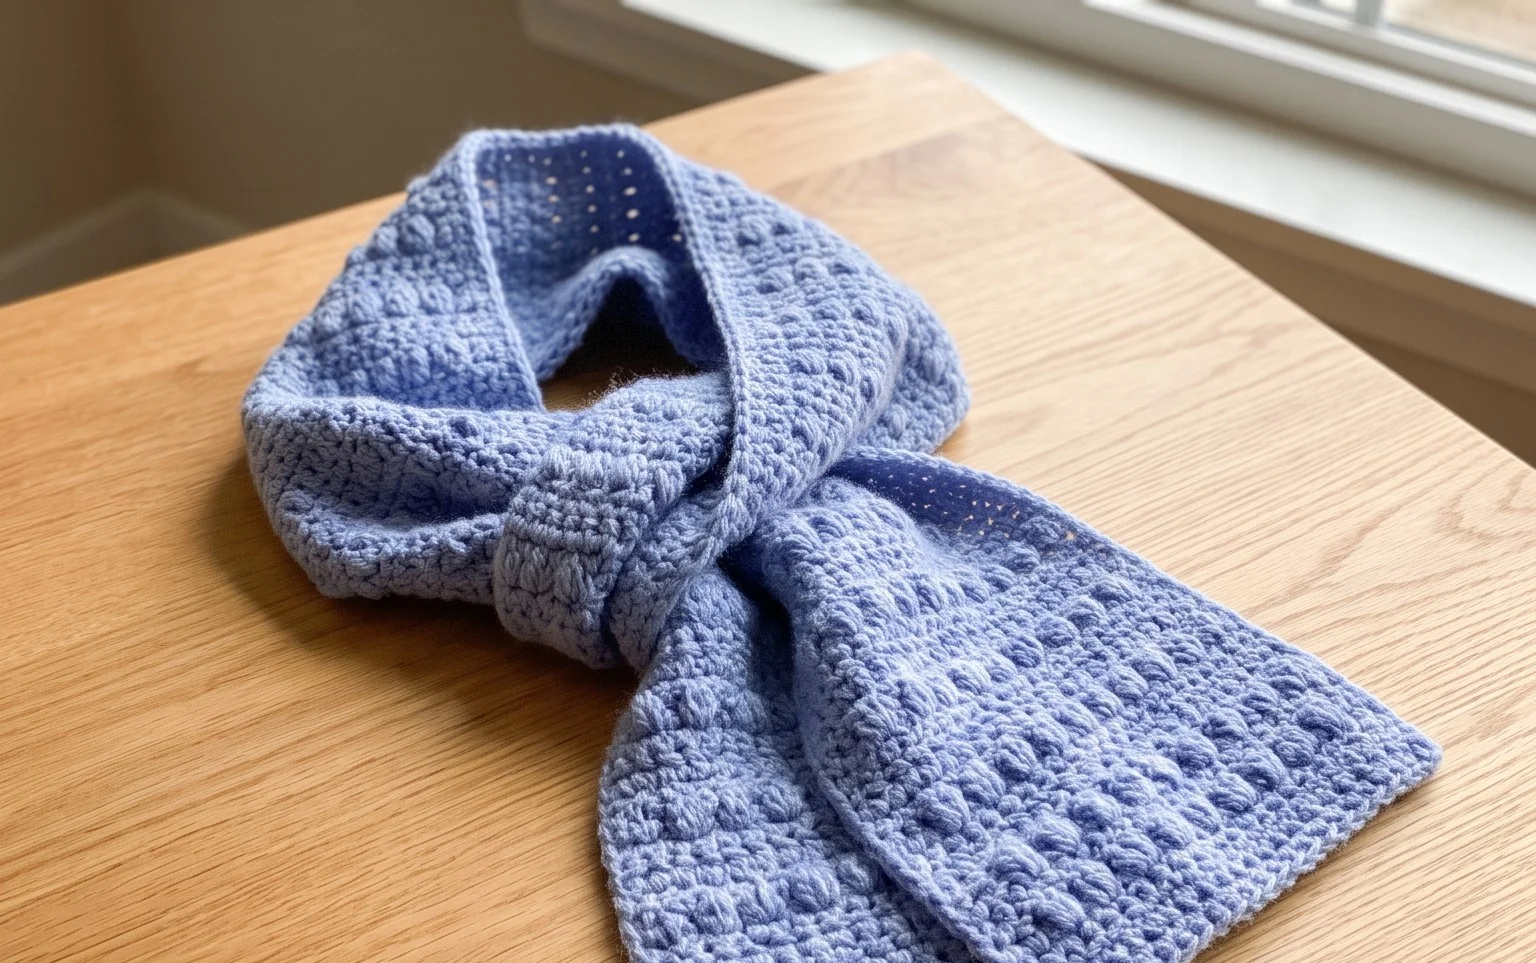
A well-made scarf feels like a warm hug on a cold morning, resting comfortably against your neck without feeling too bulky or heavy. Whether you are crafting a gift for a friend or creating a cozy winter accessory for yourself, getting the dimensions right makes all the difference in the final look. Beginners often find that selecting the correct length and width simplifies the entire process, removing the guesswork from your next yarn project. We will look at standard measurements for different styles, helping you understand how to adjust your work for a customized fit every single time.
Why You’ll Love This Pattern
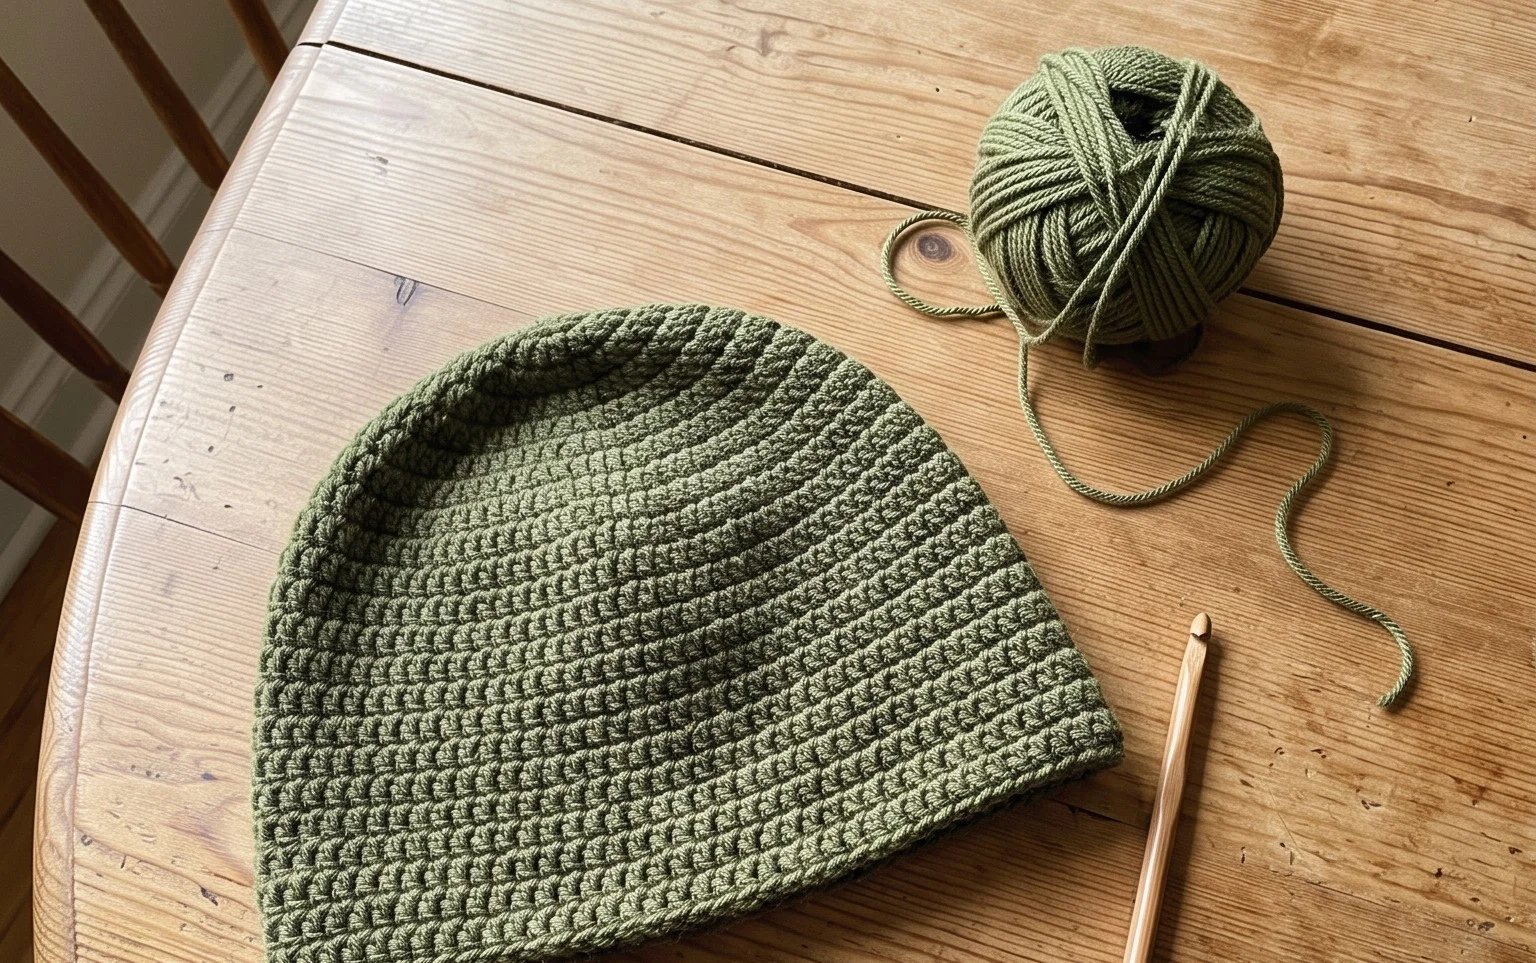
This crochet ribbed beanie relies on a simple repeating pattern of single crochet stitches worked in the back loops only, creating a stretchy, fabric-like texture that mimics knit ribbing. Because it is worked as a flat rectangle and seamed at the end, it is an excellent project for beginners who are not yet comfortable working in the round. You can complete this project in one or two evenings, making it an ideal choice for last-minute gifts or a quick seasonal wardrobe update. The heavy-weight yarn provides substantial warmth, while the vertical ribbing ensures a snug fit that stays secure during outdoor activities.
I finished this hat in one sitting while watching a movie. The instructions were very easy to follow and the finished result looks just like a store-bought piece.
— Sarah, hobbyist maker
Pattern Overview & Skill Level
- Skill Level: Beginner
- Approximate Time: 3 to 5 hours
- Construction: Flat panel worked back and forth, then seamed to form a tube and cinched at the top
- Finished Dimensions & Sizing: 8.5 inches wide by 10 inches tall (fits average adult head circumference of 21–23 inches)
Materials & Supplies Needed
- Yarn: Worsted #4 weight, 100% acrylic or wool blend, approximately 200 yards. Solid colors show the texture of the ribbing most clearly.
- Hook Size: 5.0 mm (US H-8)
- Notions: Tapestry needle for seaming and weaving in ends, locking stitch markers, and a tape measure.
- Safe yarn substitutions: You may use a bulky #5 yarn if you adjust your starting chain length to hit the 10-inch height target; however, your stitch count will decrease, and you will require less yardage. Avoid cotton yarns as they lack the necessary elasticity for a comfortable hat fit.
Stitch Guide & Abbreviations (US Terms)
- ch = chain
- st/sts = stitch/stitches
- sc = single crochet
- BLO = back loop only (insert hook under the back loop of the V-shape of the stitch rather than both loops)
- sl st = slip stitch
- turn = flip the work over to start the next row
Step-by-Step Pattern Instructions
Main Body Panel
You will work this piece as a long rectangle. The height of your chain determines how deep the hat is, while the number of rows determines the circumference.
- Row 1: Ch 36. Sc in the second ch from hook and in each ch across. (35 sts)
- Row 2: Ch 1, turn. Sc in BLO of each st across until the end of the row. (35 sts)
- Row 3 through 60: Repeat Row 2 until the piece measures approximately 18 inches unstretched.
Assembly and Finishing
To turn your flat panel into a wearable hat, follow these steps to join the edges and cinch the crown.
- Fold the rectangle in half by bringing the two short ends together.
- Using a long tail of yarn and your tapestry needle, whip stitch the two edges together to create a tube.
- Once the seam is complete, do not cut the yarn. Weave the yarn in and out along the top edge of the tube.
- Pull the yarn tightly to gather the top of the tube, closing the hole like a drawstring bag.
- Secure the yarn with a tight knot on the inside and weave in all remaining ends.
Care & Washing Instructions
- Hand wash in cool water using a mild wool-safe detergent to preserve the fibers.
- Lay the hat flat on a dry towel to air dry, reshaping it into a circle if necessary.
- Avoid using a tumble dryer, as heat can melt acrylic or felt natural wool fibers, causing the hat to lose its shape.
Pro Tips & Common Mistakes to Avoid
Maintain consistent tension throughout the panel to ensure the ribbing looks uniform across the entire surface. If your stitches are too tight, the hat will be stiff; use a slightly larger hook if you find it difficult to pull the yarn through the BLO stitches. Always count your stitches at the end of every row, especially if you are prone to missing the final stitch in a row, which can lead to a slanted edge. If you wish to change the size, simply increase or decrease the number of rows; keep in mind that adding 5 rows will require approximately 15 additional yards of yarn.
Frequently Asked Questions
Can I use a different weight of yarn for this pattern?
Yes, but you will need to adjust your starting chain count to match the height requirement. If you use a thinner yarn, you will need to increase the number of rows to maintain the width of the hat.
Is this pattern suitable for complete beginners?
Absolutely. Because it only uses the single crochet stitch and is worked as a flat rectangle, there is no need to worry about the complexities of working in the round.
How do I make the hat larger for a bigger head size?
Simply add more rows to the main body panel. Each additional row adds roughly 0.3 inches to the circumference of the finished hat.
Can I sell the hats I make from this design?
You are welcome to sell finished items made from this pattern, provided you credit the designer in your product listings. Please use your own photographs rather than copying mine.
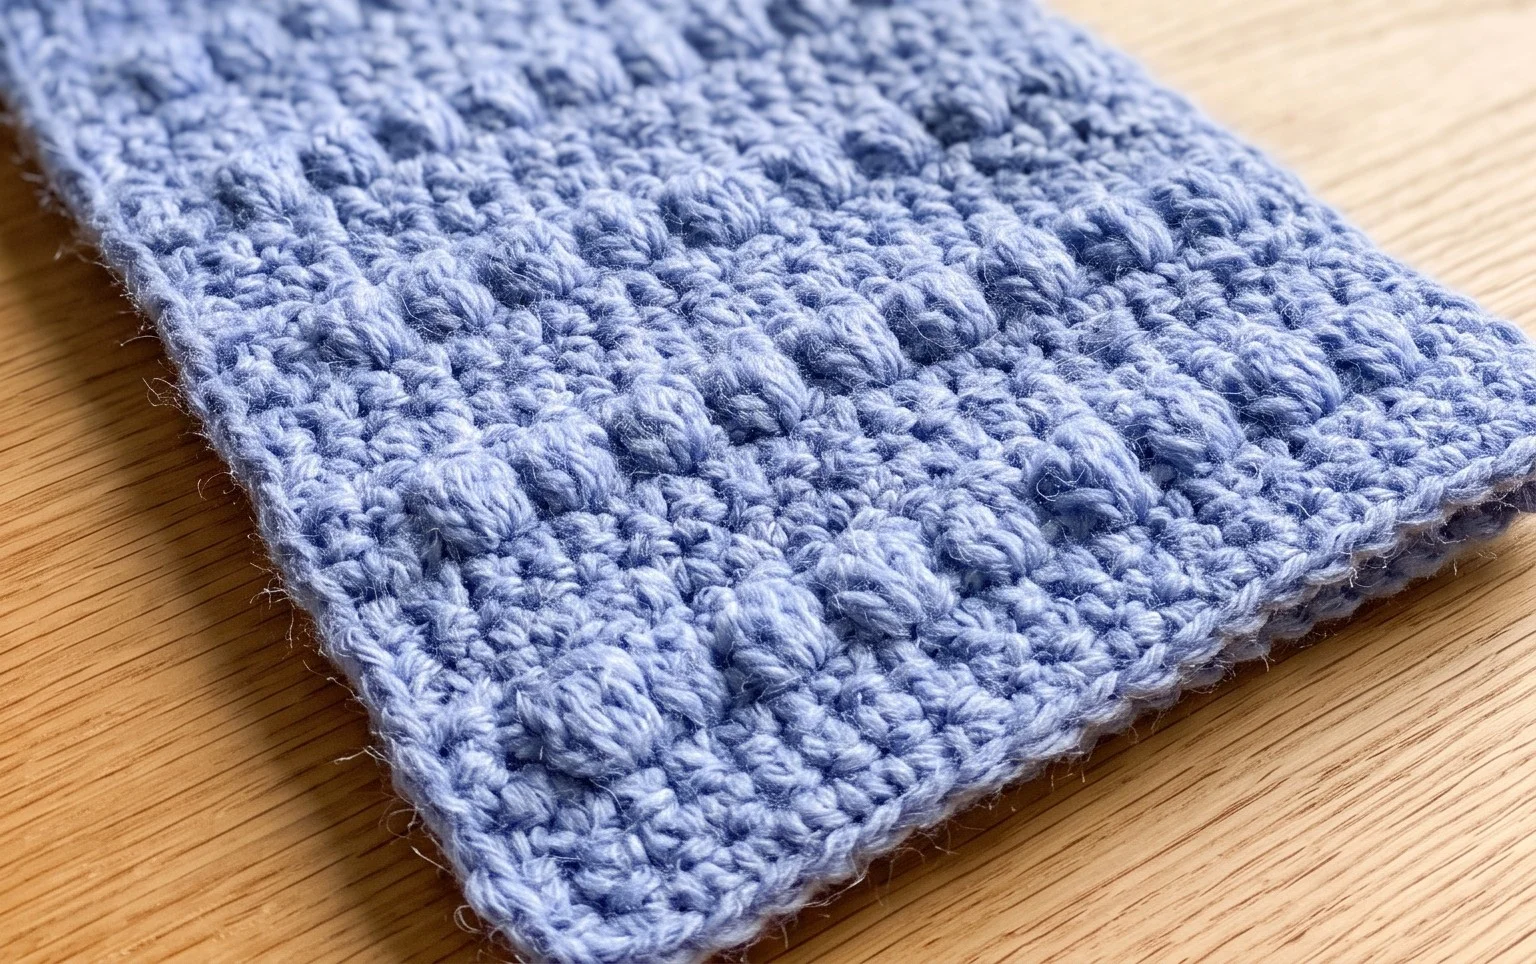
Your finished scarf will provide lasting warmth through many winters if you take care of the fiber content properly. You might consider adding a deep fringe to the ends for extra movement or working with a wool-blend yarn for a more structured drape. If you enjoy the results, please share your finished creation on your favorite social platform so others can see your color choices. You are welcome to browse our site for more free patterns and guides to keep your hook moving all year long.